With any animal and any scenario, every single hunter knows that shot placement is everything; but, just because you’re pin wheeling the target every shot doesn’t mean that you actually have perfect arrow flight. In this article I’d like to teach you how to properly tune your arrows. Whether you’re striving for long distance accuracy or better penetration on larger game, we can get you there.
What you will need:
- Arrows
- Field points (multiple weights)
- Arrow saw
- Torch
- Hot melt glue
- Feathers or vanes
- Arrow wraps
- Fletching glue
- Fletching jig
- Inserts
- Rubbing alcohol
- Q-tips
- Paper
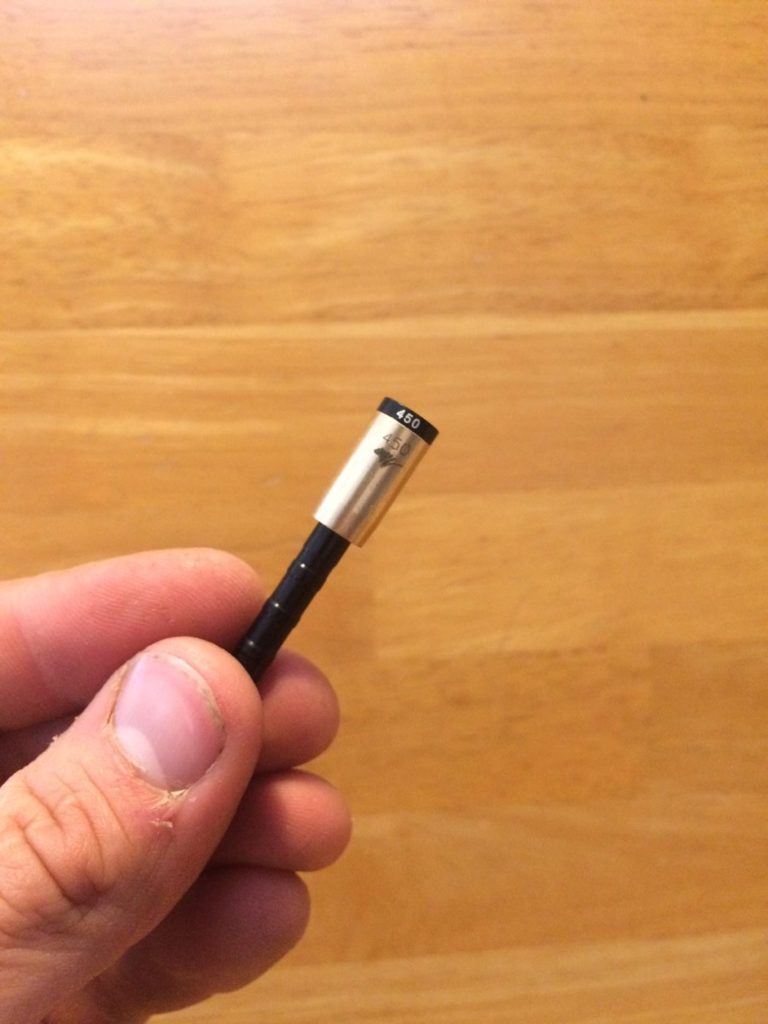
For the purpose of this article, I will be tuning new 450 Momentum BLACK arrows donated by GrizzlyStik to my Thunderstick MOAB longbow (crafted by Jim Reynolds).
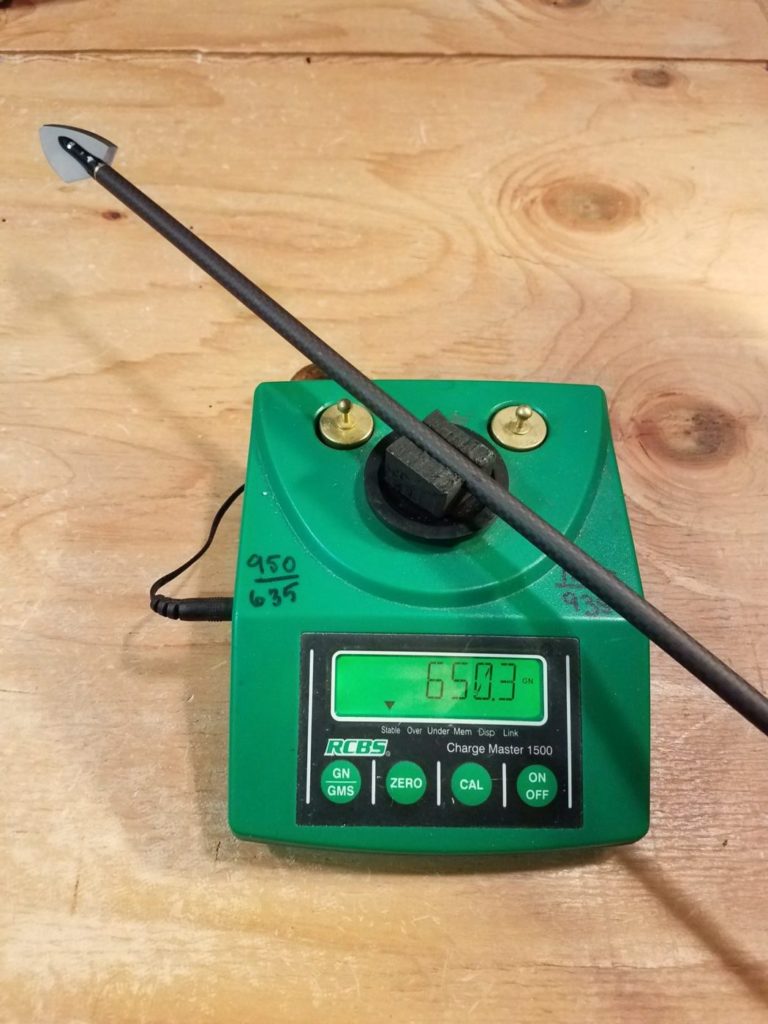 Photo Credit Garrett Schlief – Grizzly Stik
When looking for arrows, make sure to select the right spine. You can use a spine chart online or on the box of your arrows to see what fits you best. I generally use a stiffer spine because I like 300+ grains of point weight on my arrows.
I have fletched 11 arrows out of my dozen and left 1 unfletched for bare shaft tuning. A bare shaft never lies!
Even if you know your exact draw length, leave your arrows long; if you don’t know it, leave them at full length to start. These GrizzlyStik arrows are tapered, so I will be cutting from the front of the arrow. After cutting your arrows, dip a cotton swap into rubbing alcohol and then give the cut end of the arrow a good swabbing, like you’re cleaning a rifle.
 Photo Credit Garrett Schlief – Grizzly Stik
Let’s talk about that point weight: it’s helpful to have multiple field points. I keep 100-grain all the way up to 250-grain field points on hand when I’m tuning a new set of arrows. When it comes to inserts, I always use 100-grain brass. This gives me my desired added weight up front, thus more kinetic energy and penetration. See Dr. Ashby’s extensive studies for more detail on the numerous benefits of high FOC arrow set-ups.
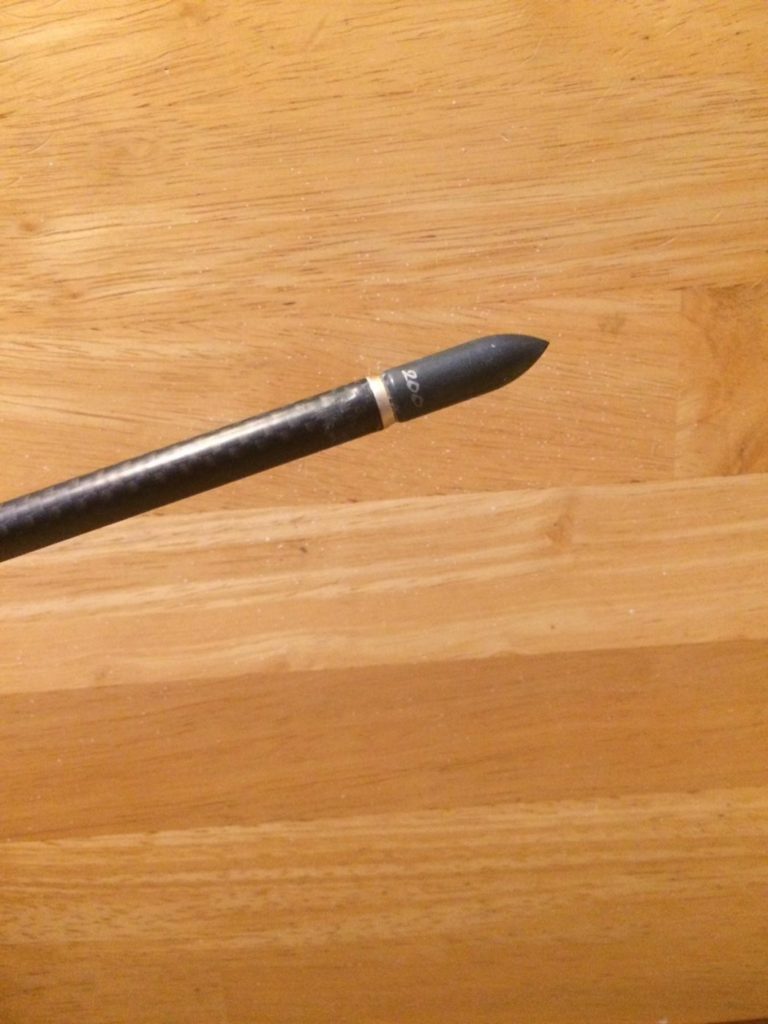
To start out we’re going to light up the torch and heat up our hot melt glue. Then we apply a small amount to the brass insert (because we know we will be pulling them out to re-cut the arrows) and insert into our bare shaft. After wiping excess glue and threading in our field point, we are ready to start. I will begin by using my desired 200-grain field point.
When tuning an arrow, I like to start with bare shaft tuning. You want to be close enough you will hit your target well, but far enough away that you can see what the shaft is doing in flight.
After my first shot, I can see that the tail end of my arrow is kicking out left; this is an indicator that my spine is too weak. If my arrow kicked right it would mean it is too stiff, and with already having long shafts it would mean that you overspined yourself. Kicks up and down indicate a nock change is needed.
To solve the weak arrow problem, you can cut your arrow shorter, which will make it act more stiff, or you can put on a lighter field point which will achieve the same effect. Since I want to keep all that weight up front for my style of hunting, I choose to cut my arrow. For my initial cut I will remove about 1/4″. After I keep shooting and see the tail of the arrow not kicking as much, I will start cutting off 1/8″ each time. Remember to clean the arrow with rubbing alcohol every time you cut. Keep repeating this process until the arrow looks like it’s flying on rails.
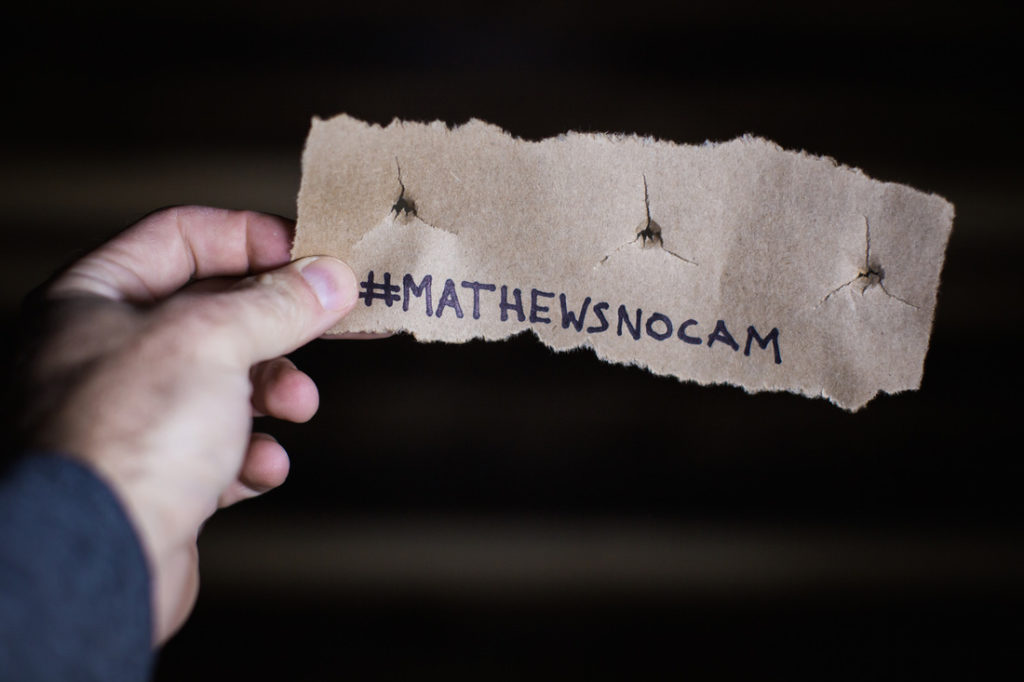
OK, according to my eyes my arrow is now flying well, but can we do even better? Next up I take a fletched arrow and cut it to the same length. After installing my insert and field point, I get ready for paper tuning. Paper tuning is great; it will let you see what your eyes can’t. All you need is newspaper (or any paper) and a frame. You can build your own frame for next to nothing, using a picture frame or even a cardboard box.
Hang your paper from the frame and place it in front of your target, then stand back 5 or 10 yards and shoot the fletched shaft through the paper. If you get a tear to the left, the arrow is still weak, and to the right it is stiff. Just like our bare shaft. Now that you are fine tuning, you can keep shooting and cutting until you are left with no tear and just bullet holes. If you cut too much by accident and you get some stiff tears (to the right), you can reverse directions by lowering your field point weight. This is also the reason we cut and tune one arrow at a time. I always like to leave a bare shaft even after I’m all tuned. It comes in handy if you are tweaking your form, or even trying a new broad head. Keep in mind if you are planning on using lighted nocks, they will weigh more and also weaken your spine.
Hopefully this lesson will help you in the future. It’s always nice to be the guy that works on his own gear. This way we know everything is consistent and it doesn’t leave us wondering what’s wrong with our set up. Now you’re ready to be shooting a little straighter, grouping a little tighter, and getting even more penetration!