The world of mountain hunting, really any backcountry pursuit, is one that is often gear centric. While I try to be outspoken about my belief that gear should not be a barrier, I would be remiss to suggest that there are certain parts of a “system” that aren’t worth spending money on. I feel that there are general rules to work off, though some of this will come down to personal preference guided by experience over time. Optics, boots, and pack are the highest priority for me, though some people may feel technical clothing and their weapon system outweigh other items.
Despite where our preferences fall, most of us have voids in our knowledge when it comes to the gear we tote around in the mountains. Over the years, one of the greatest gaps I have noticed is the understanding of backpacks. You may think, a pack is a pack, as long as it can carry your gear and looks good who cares? Au contraire. It seems that few people understand not only their importance, but also what makes a good pack, how to fit them, and how to pack them.
What Are Your Needs?
The first thing you need to understand, and the clearer the better, is what your objective use for a pack is. If you only intend to day hike and need a bag for packing quarters back down to truck or camp, your needs will vary from someone looking to do a 10-plus day backpack hunt for sheep or mountain goat. It seems simple, but you’d be surprised at what gets overlooked. In my case, I have dabbled in packs built for 1-3 days, and prefer using a larger pack that can be cinched down — purely personal preference. Considering that I don’t typically use daypacks, I am not going to speak to them here and will focus this on “expedition” size hunting packs.

Pack volume is generally classified in Litres or Cubic Inches, and for an expedition or backcountry hunting pack you will want something in the 80 – 130L or 5000 – 8000ci range. Keep in mind that more is not always better, especially if you have the tendency to overpack. With that said, when packing out camp and an animal, I have never wished for less room inside my pack.
Pack Build & Gimmicks
As with every other facet of the hunting world, when it comes to packs the market is grossly oversaturated. There is no shortage of companies manufacturing backpacks for hunters these days, and it can be hard to separate the wheat from the chaff. I have two strong pieces of advice in regards to this. Focus on specialist companies, and when in doubt, ask a professional — backcountry and backpack oriented guide outfitter. I am a firm believer that no single company can do everything exceptionally well, which is why my backpack isn’t made by the same company as my raingear. It may be convenient to do all of your online shopping in one place, and the desire to have a backpack that matches your camo outfit may be strong, but at the end of the day, backpack companies build better backpacks than clothing companies. You don’t want your butcher performing a vasectomy, no matter how good they are with the knife.
A lot of packs out there boast tons of novel features and an attractive price tag, but these are usually the ones to avoid. More often than not these features are gimmicks that take up space and reduce the functionality of a pack. I’m not saying it doesn’t exist, but I have yet to see a backcountry pack featuring a rifle scabbard that is functional and comfortable when fully loaded. The same goes for packs that have “Ultralight” as their main draw. The general rule here is that ultralight ≠ ultra-durable. They will neither last as long nor pack heavy loads as comfortably. Some of you may get defensive about this, but I am just speaking from my own experience. I need a pack that is capacious enough for a two-week trip, can “comfortably” stabilizes loads in excess of 100 lbs, and won’t fail in any way for a 90 day straight guiding season. No blown buckles, no jammed zippers, no seam failures. Materials like 500D Cordura, and heavy-duty zippers and buckles will undoubtedly add weight, but create a longer-lasting product that reduces the chance of having a major failure on a hunt.

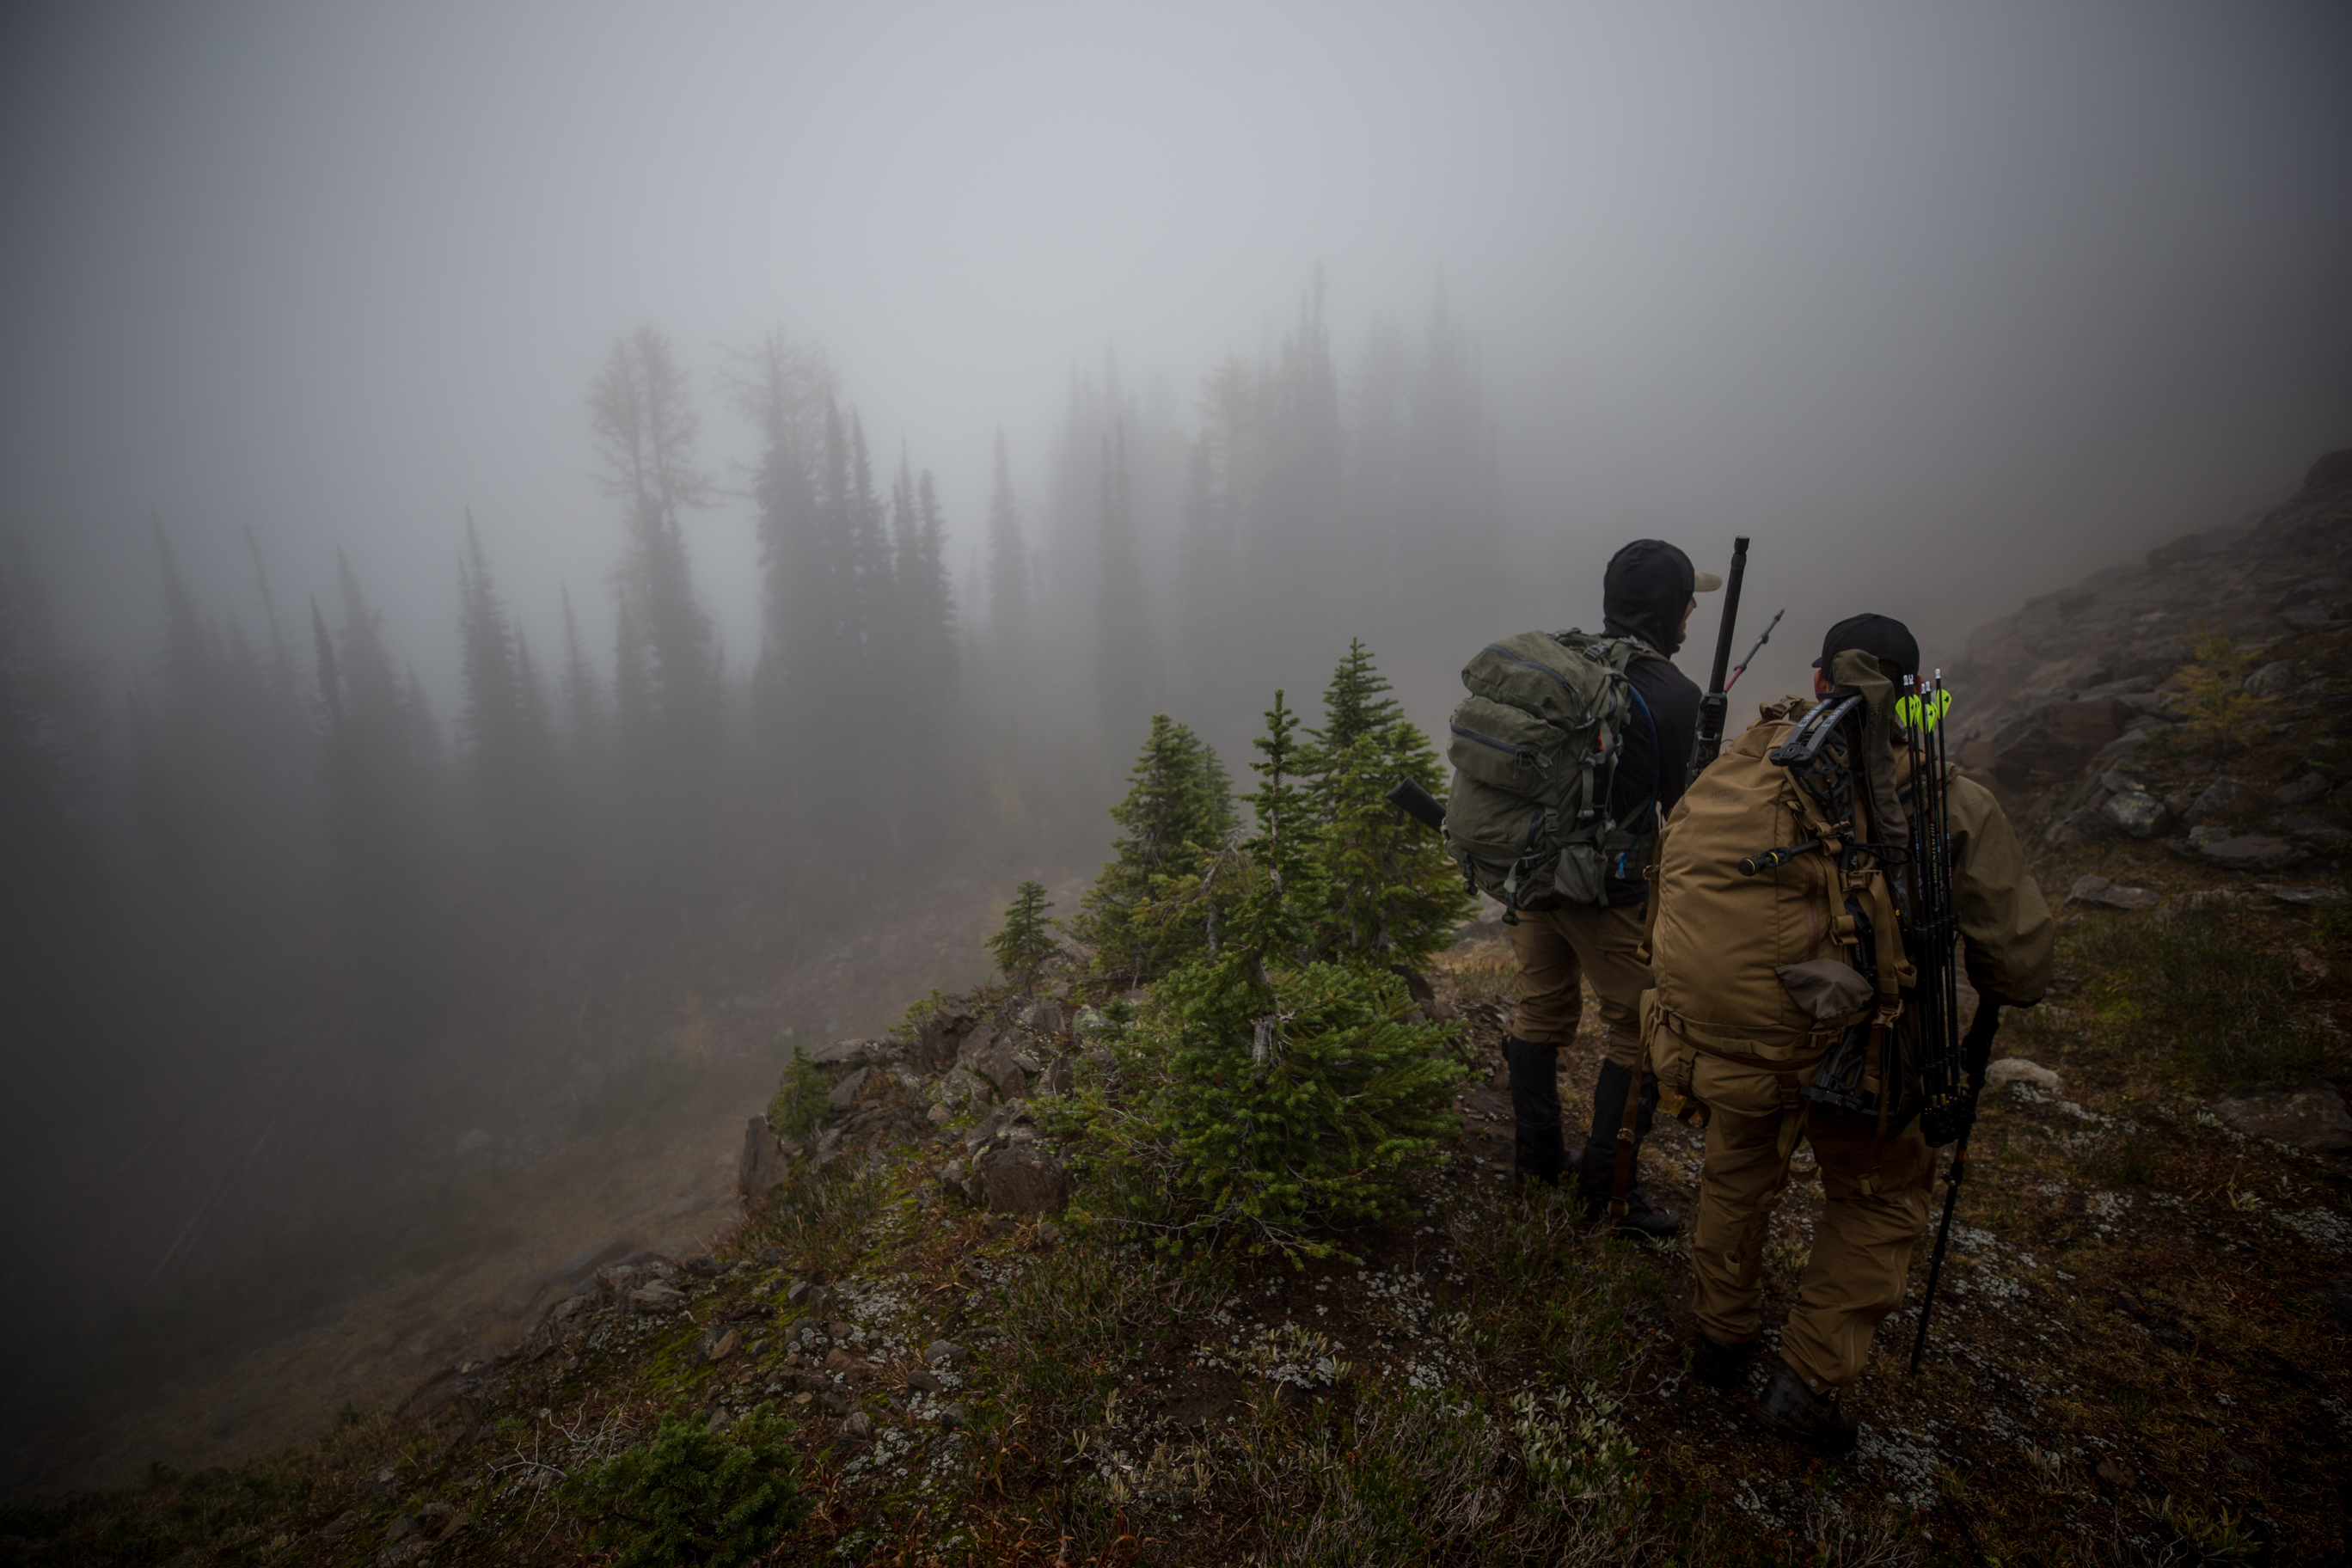
Photo: Peter Gutsche
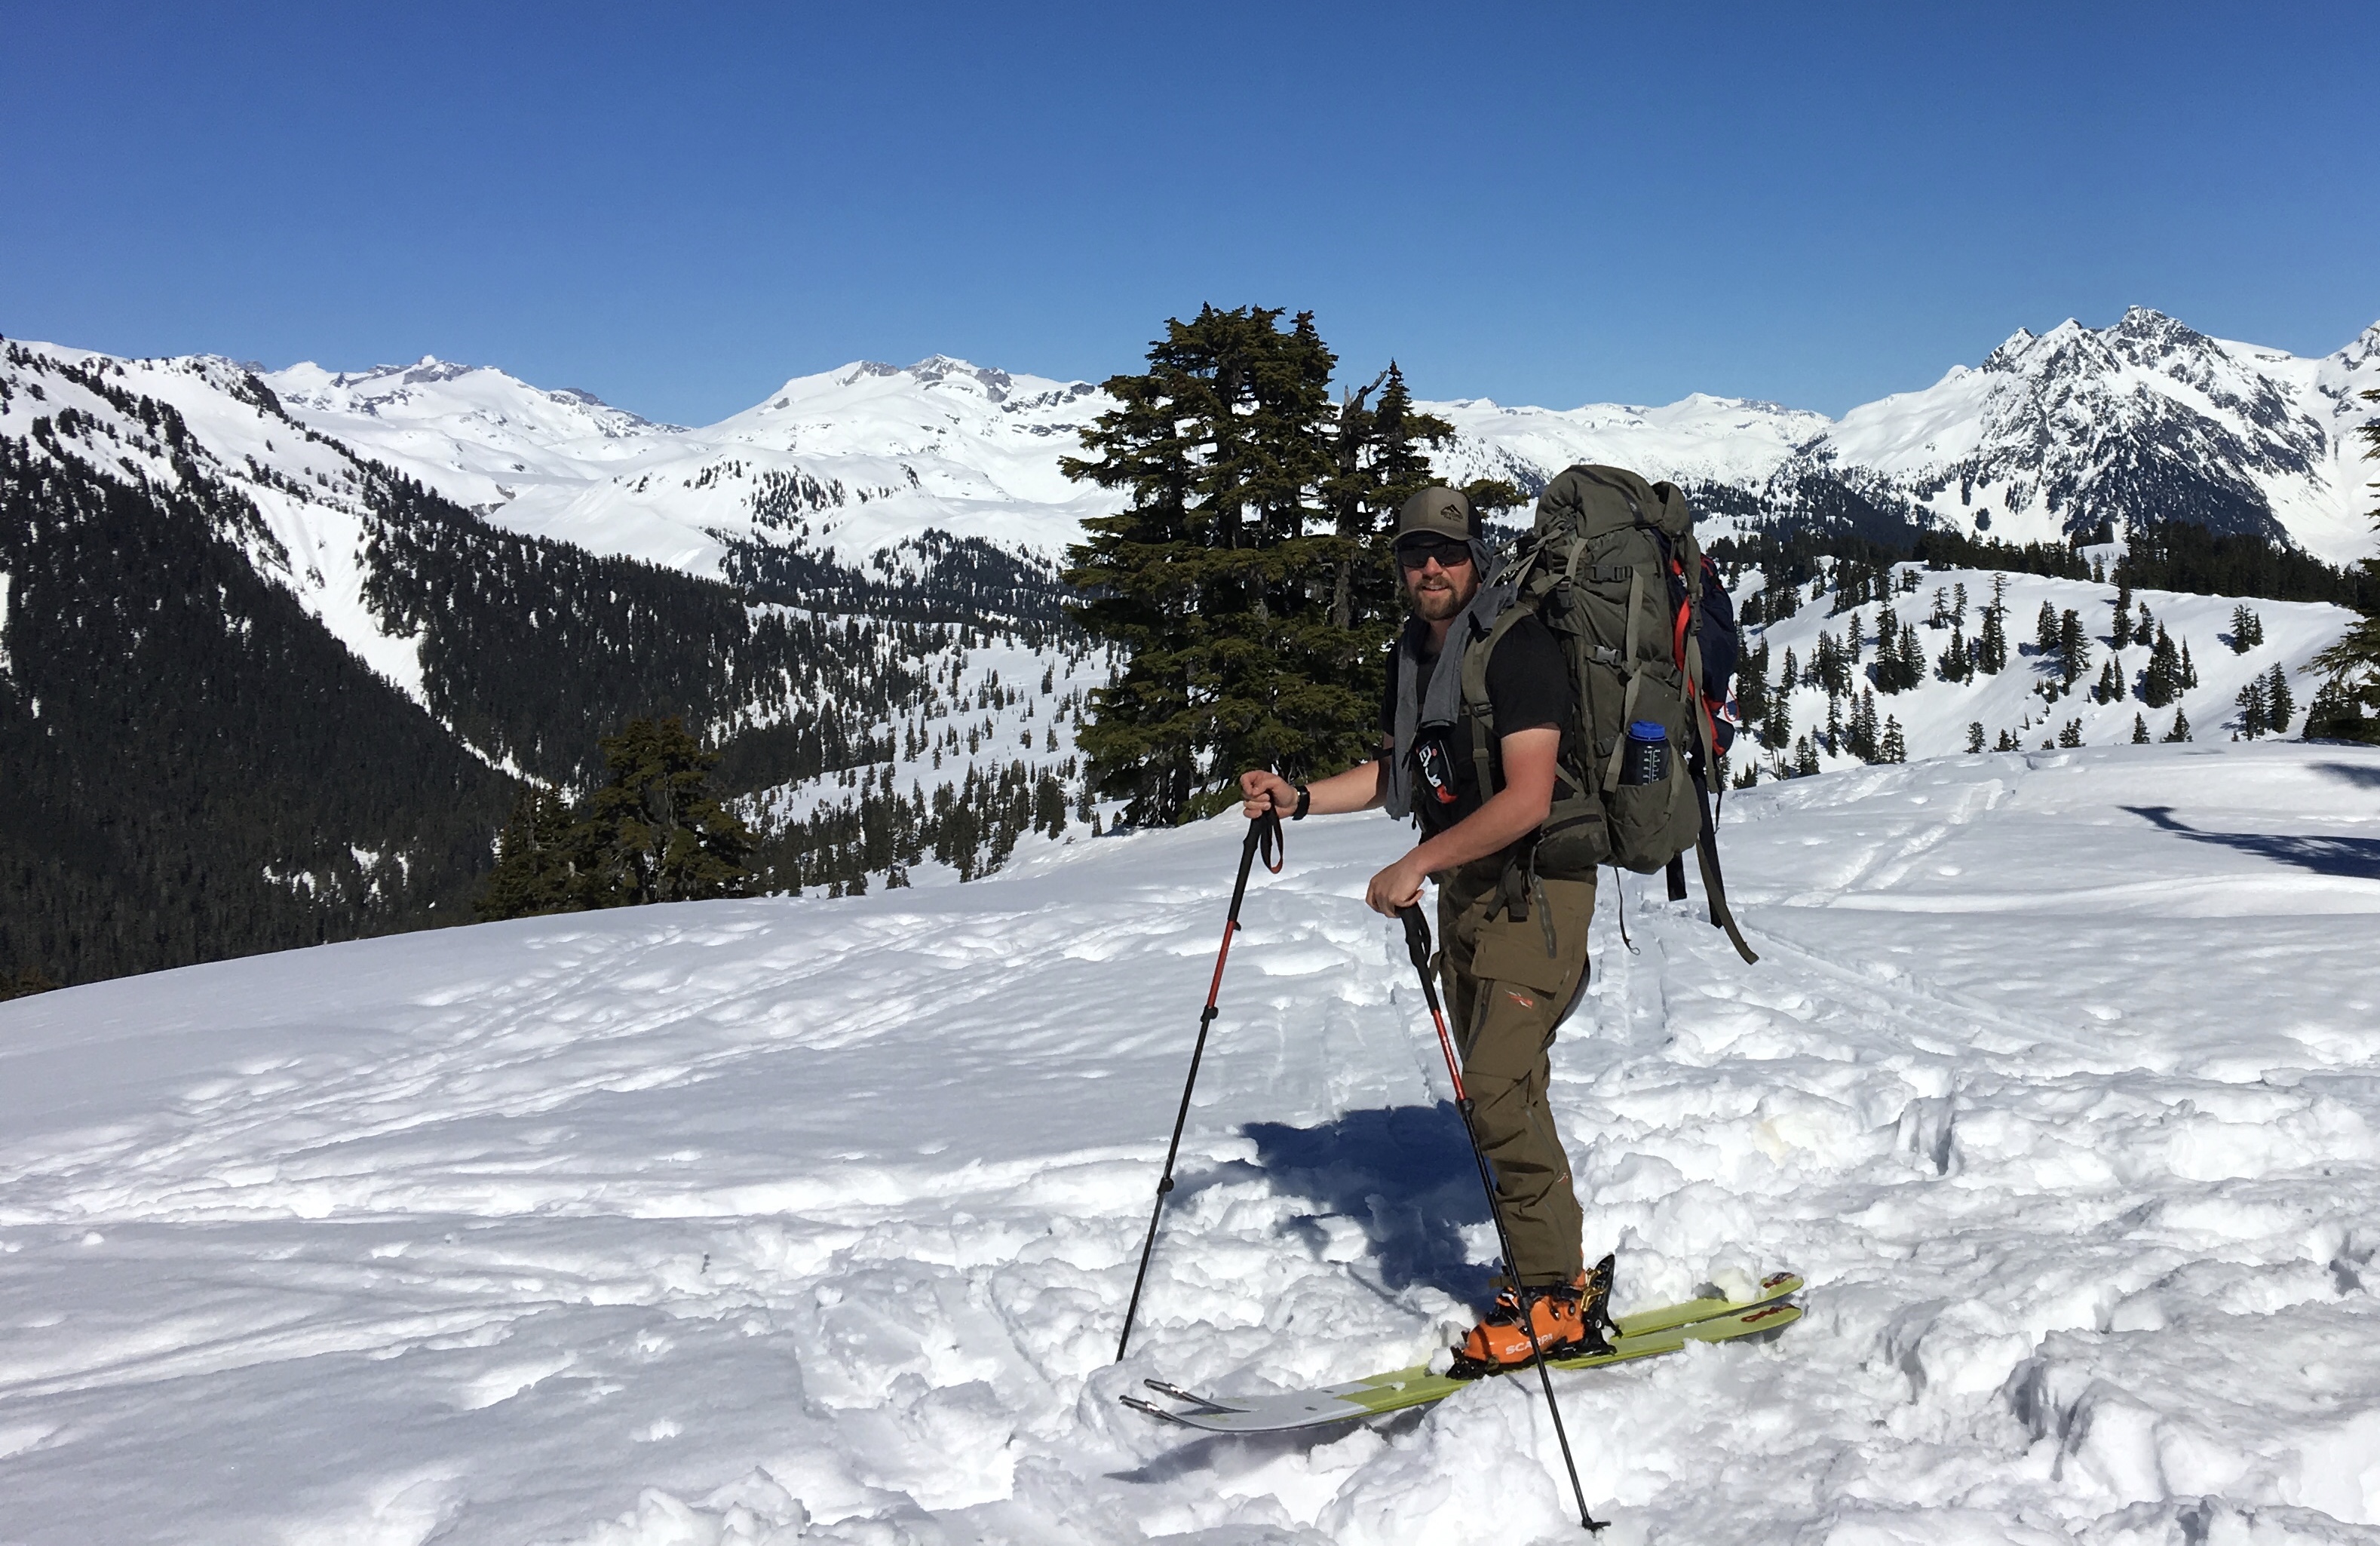
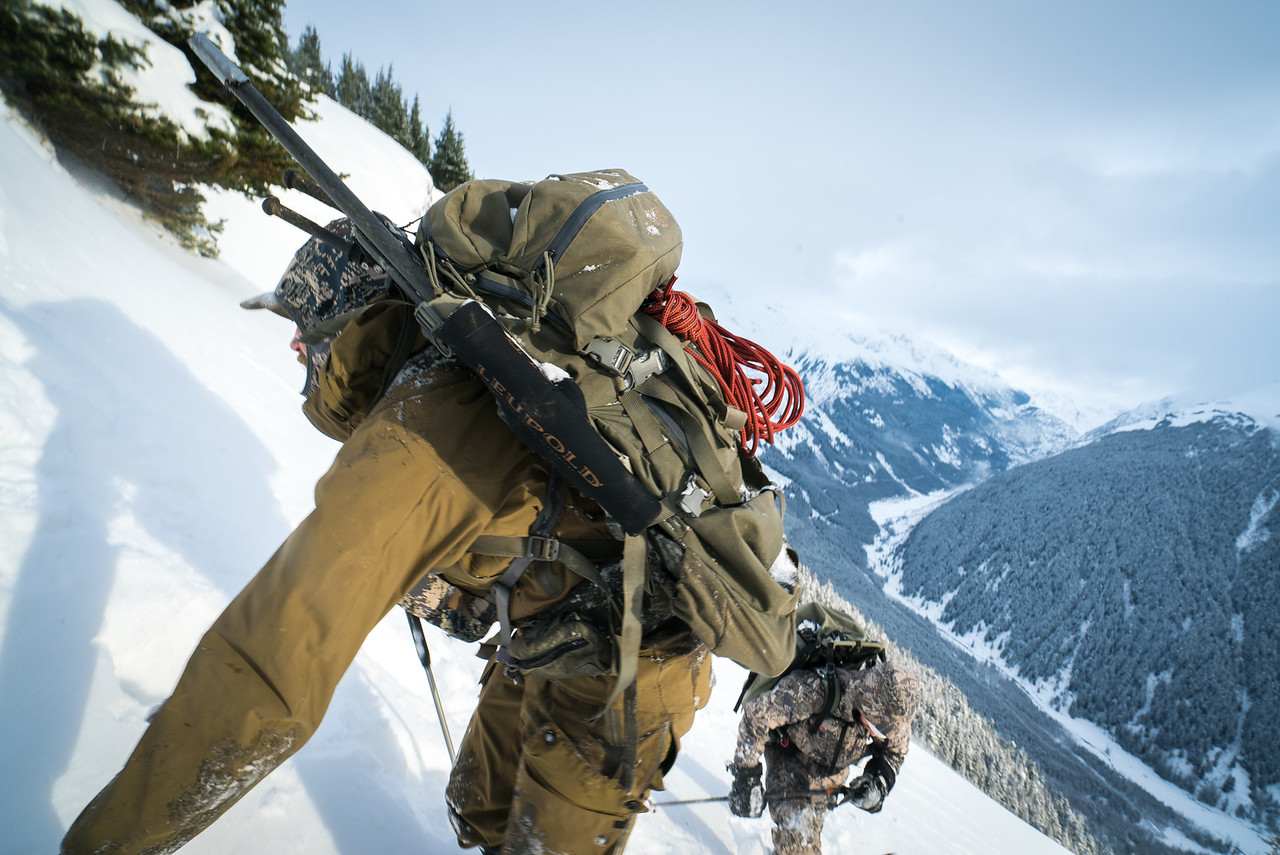
My go-to these days for everything from day hunting from a truck camp to late-season 10-day backpack trips is the Mystery Ranch Marshall 6500. To date, it has been tossed on a rope down cliffs in the winter, strapped onto pack horses, in an out of bush planes and jetboats, used as a shooting rest, chair, and regular airplane luggage. I’ve logged over 500 days in the mountains with this pack without experiences any failures or issues. I bought this one a few years prior to coming on board at the Journal of Mountain Hunting, and while they are a sponsor to our platform, my opinions were formed long before that occurred. Mystery Ranch builds simple, functional, bombproof packs that keep build strength and load transfer at their core values. Everyone has their own taste, and price point, so at the end of the day find what works for you, just keep in mind that specialist companies almost always build higher quality products than generalist companies. There are a few other good brands on the market, just find a quality one that works for you.
*For those of you who may balk at the idea of spending $600 plus on a hunting pack, consider purchasing a used hiking pack that will get you by, and save your money. I have learned the hard way that “buy once, cry once” will save you a lot of money in the longterm.
Pack Fit
So you’ve got your pack picked out… Now what? The best pack in the world won’t do you any good if its the wrong size for your body or you have it set up incorrectly. Correctly fitting a pack seems to be a vastly misunderstood idea, despite the fact that it directly impacts the comfort and load stabilizing ability of your pack. The idea behind a large pack is not just to carry a heavy load, but to transfer that load to your body — specifically to the waist/hips. Understanding and adjusting the pack’s suspension system, the shoulder straps and waist belt, is a short and simple process, but one that is more often than not overlooked. In the interest of further simplifying this process, I will avoid explaining and instead let the video do the talking.
A cursory search of youtube will show you that every manufacturer worth their salt has videos on how to fit and adjust their packs to your body. The important thing here is not what brand of pack you have, but that you understand how it works, and how to adjust it to your body. At some point or another most of my guided clients — and some of my friends — have complained about their pack feeling uncomfortable, heavy, or awkward. Almost all of these instances have come down to improper pack fit. If you understand the fundamentals of pack fitting and adjustment, you will learn to feel what needs to be adjusted under different circumstances as you spend more time in the field under load.
How to Pack
Equally as misunderstood as to how a pack should fit your body, is how to effectively pack your gear inside it. If you think that jamming everything you need into your pack is effective, you are probably often wondering why your pack feels heavier than it actually is. I would hazard that a lot of “120lb” loads that you hear about being packed out of the mountains are more like 90lb loads that are balanced incorrectly. Without diving into the physics of it, you are dealing with gravity and the effects of leverage that the weighted pack creates depending on how the weight is distributed throughout the pack.
The general rule of thumb here is to pack the lighter items at the bottom of your pack, and the heavier items across the upper portions, ideally between your shoulder blades. This aids not only in reducing the leverage that is applied to your load lifters, but also in transferring the bulk of the load to your hips and waist. If you can reduce the horizontal distance of your load based on your own centre of gravity — have the load stacked vertically against your back — you can reduce your suffering on the pack out.

Photo: Peter Gutsche
If you can take the time to go a little further, and keep the most often used items at the top or near convenient zippers, you can further streamline your packing system and avoid doing pack dumps in an unexpected rainstorm trying to find your raingear. Everyone has their own process, but mine follows like this from the bottom up.
Bottom Compartment
- Sleeping Bag
- Sleeping Pad
- Aluminum Mug
- Down Jacket/Pants
- Spare gloves or rain gear if there’s space (there is a quick access zipper on the bottom compartment of the Mystery Ranch Marshall so its an easy pull for raingear)
Main Compartment
- Tent
- Additional layers/clothing
- Food bags (packed higher up as they will generally be the single heaviest item in the pack on long trips)
- Backpacking stove
- Fuel canisters
- Whisky
Backpack Top Lid
- Small daily use items such as spare gloves, sunglasses, snacks
- First Aid kit
- Kill kit ( flashlight, knives, rope, lighter etc)
- Bipod

Photo: Talus Creative
The freedom that comes with backpack hunting is unparalleled in many ways. Having the ability to be self-sufficient for extended periods of time in the backcountry, and the mobility to capitalize on opportunity can vastly improve your enjoyment, and your chance of success while hunting.
Most folks that spend enough time living out of a backpack develop their own preferences around packs, their adjustment, and the organization system they use while hunting out of them. While my tastes have been developed over the last five years guiding in the mountains of Northern Canada, it is important to remember that these are guidelines more than rules.

