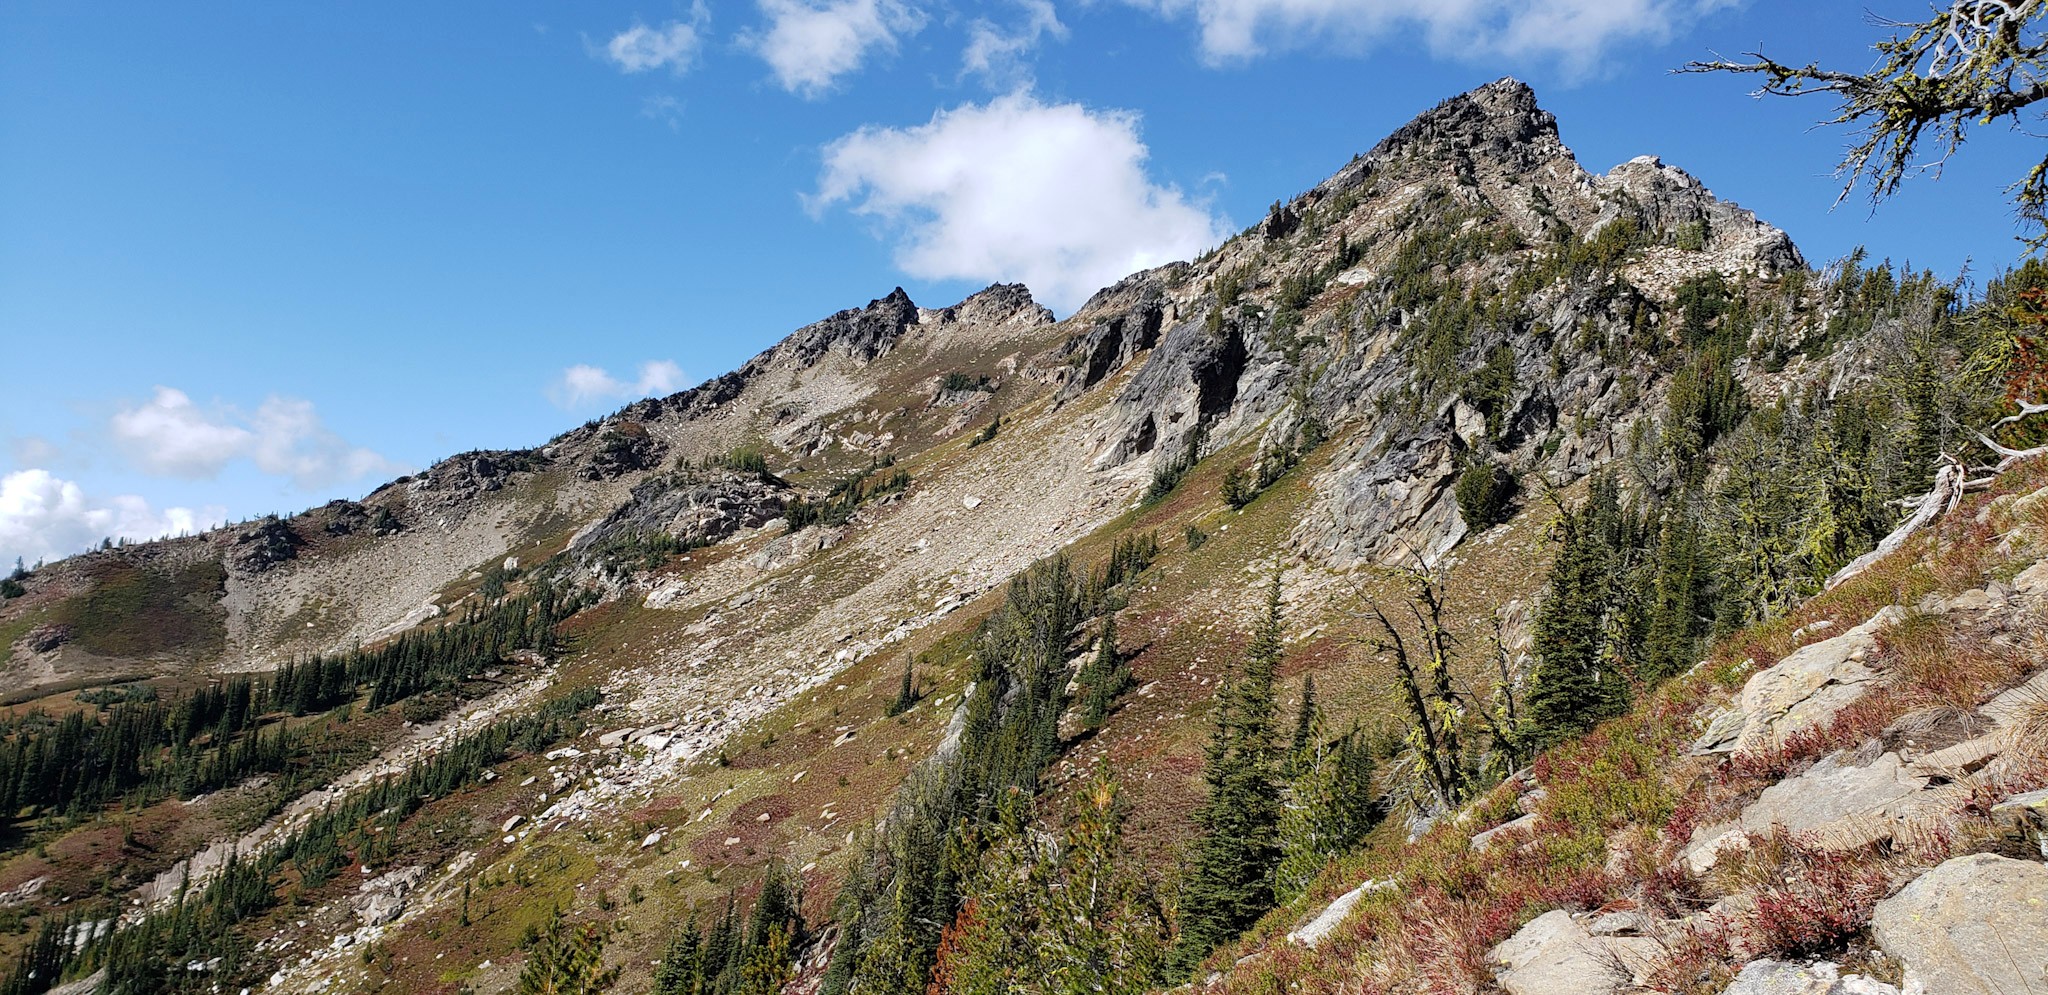
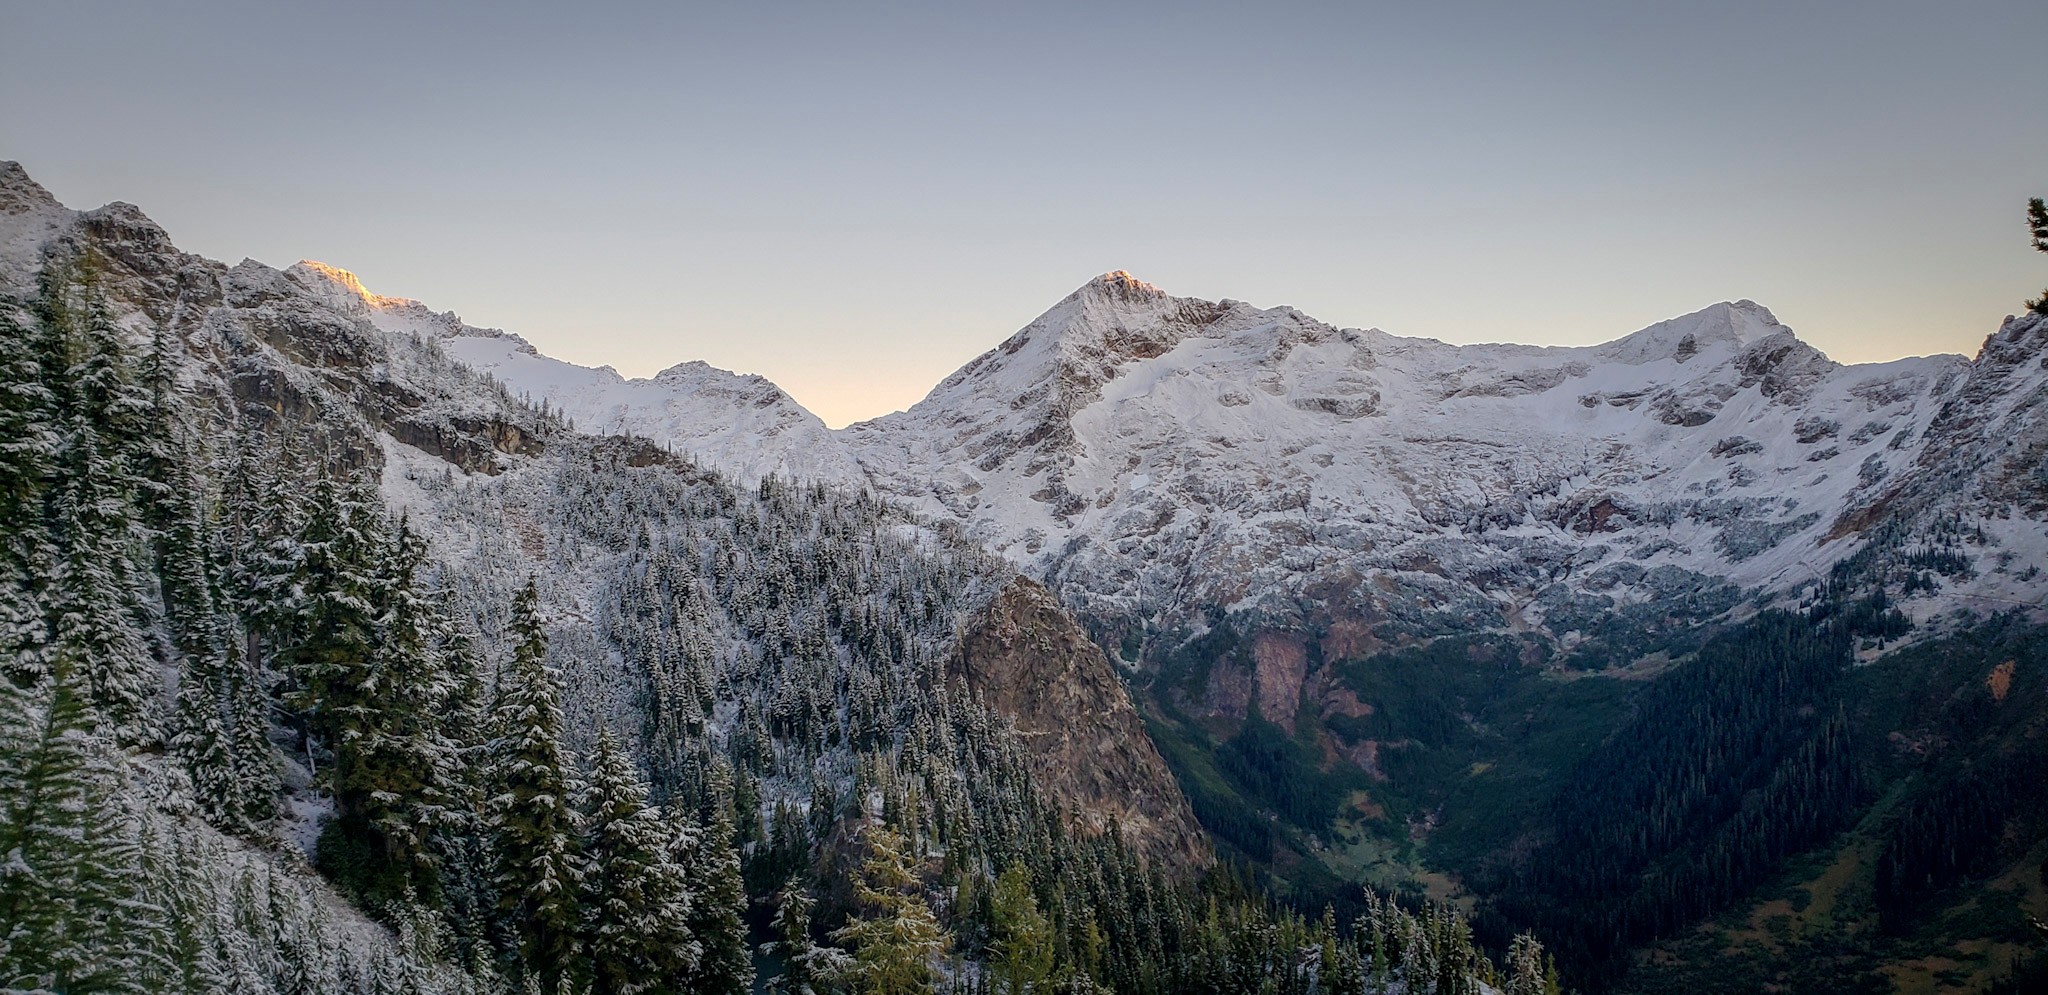
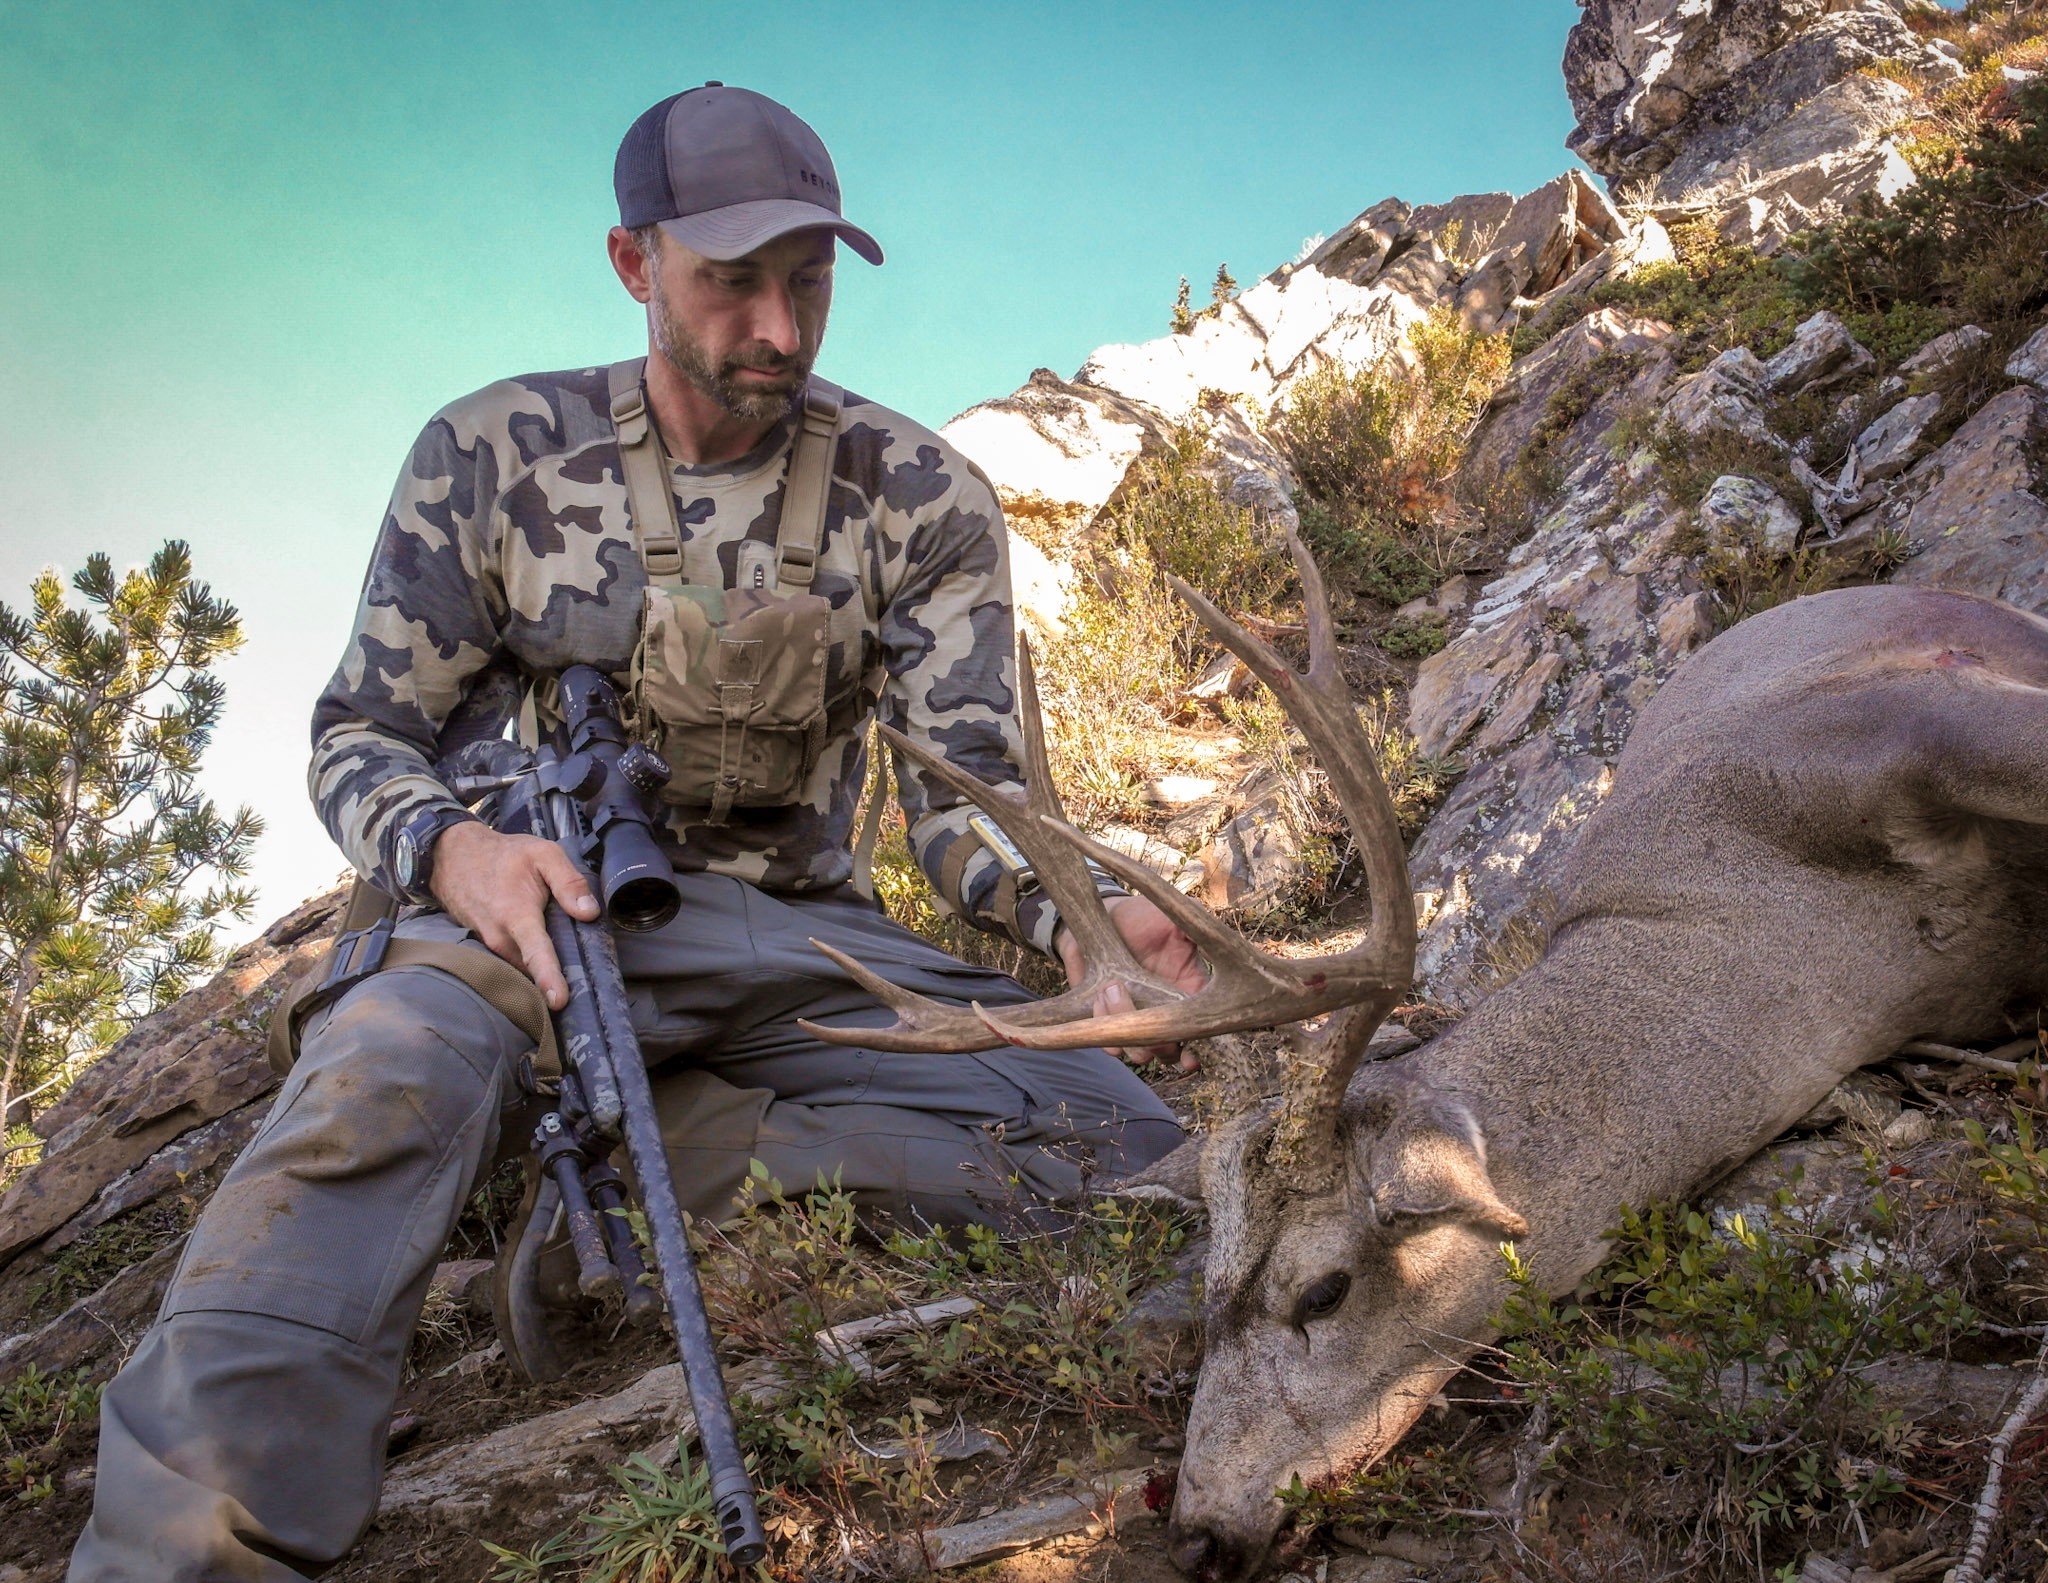
If you’re a hunter and you hunt in the mountains, learning to shoot in the mountains is a valuable skill to learn in order to facilitate your success in notching your tag. In the tactical/practical shooting community, we hear incessantly about “high angle” this and “high angle” that. These shooters think it’s all about the angles, but angles are actually a small part of being a proficient mountain shooter. Mountain shooting can be broken into three parts, and not all parts are equal with regard to workflow and comprehension. Once we understand the geometry of the firing solution, the rest is largely up to us as the shooter to correctly interpret the environmental conditions that influence our bullet in flight, and then be able to build a stable enough shooting position from which to deliver that shot as precisely as possible. Not an easy feat at all, as the shooter workload is intense, especially if time is of the essence. We’ll break this stuff down in a systematic way so you can devise a system that works for you.
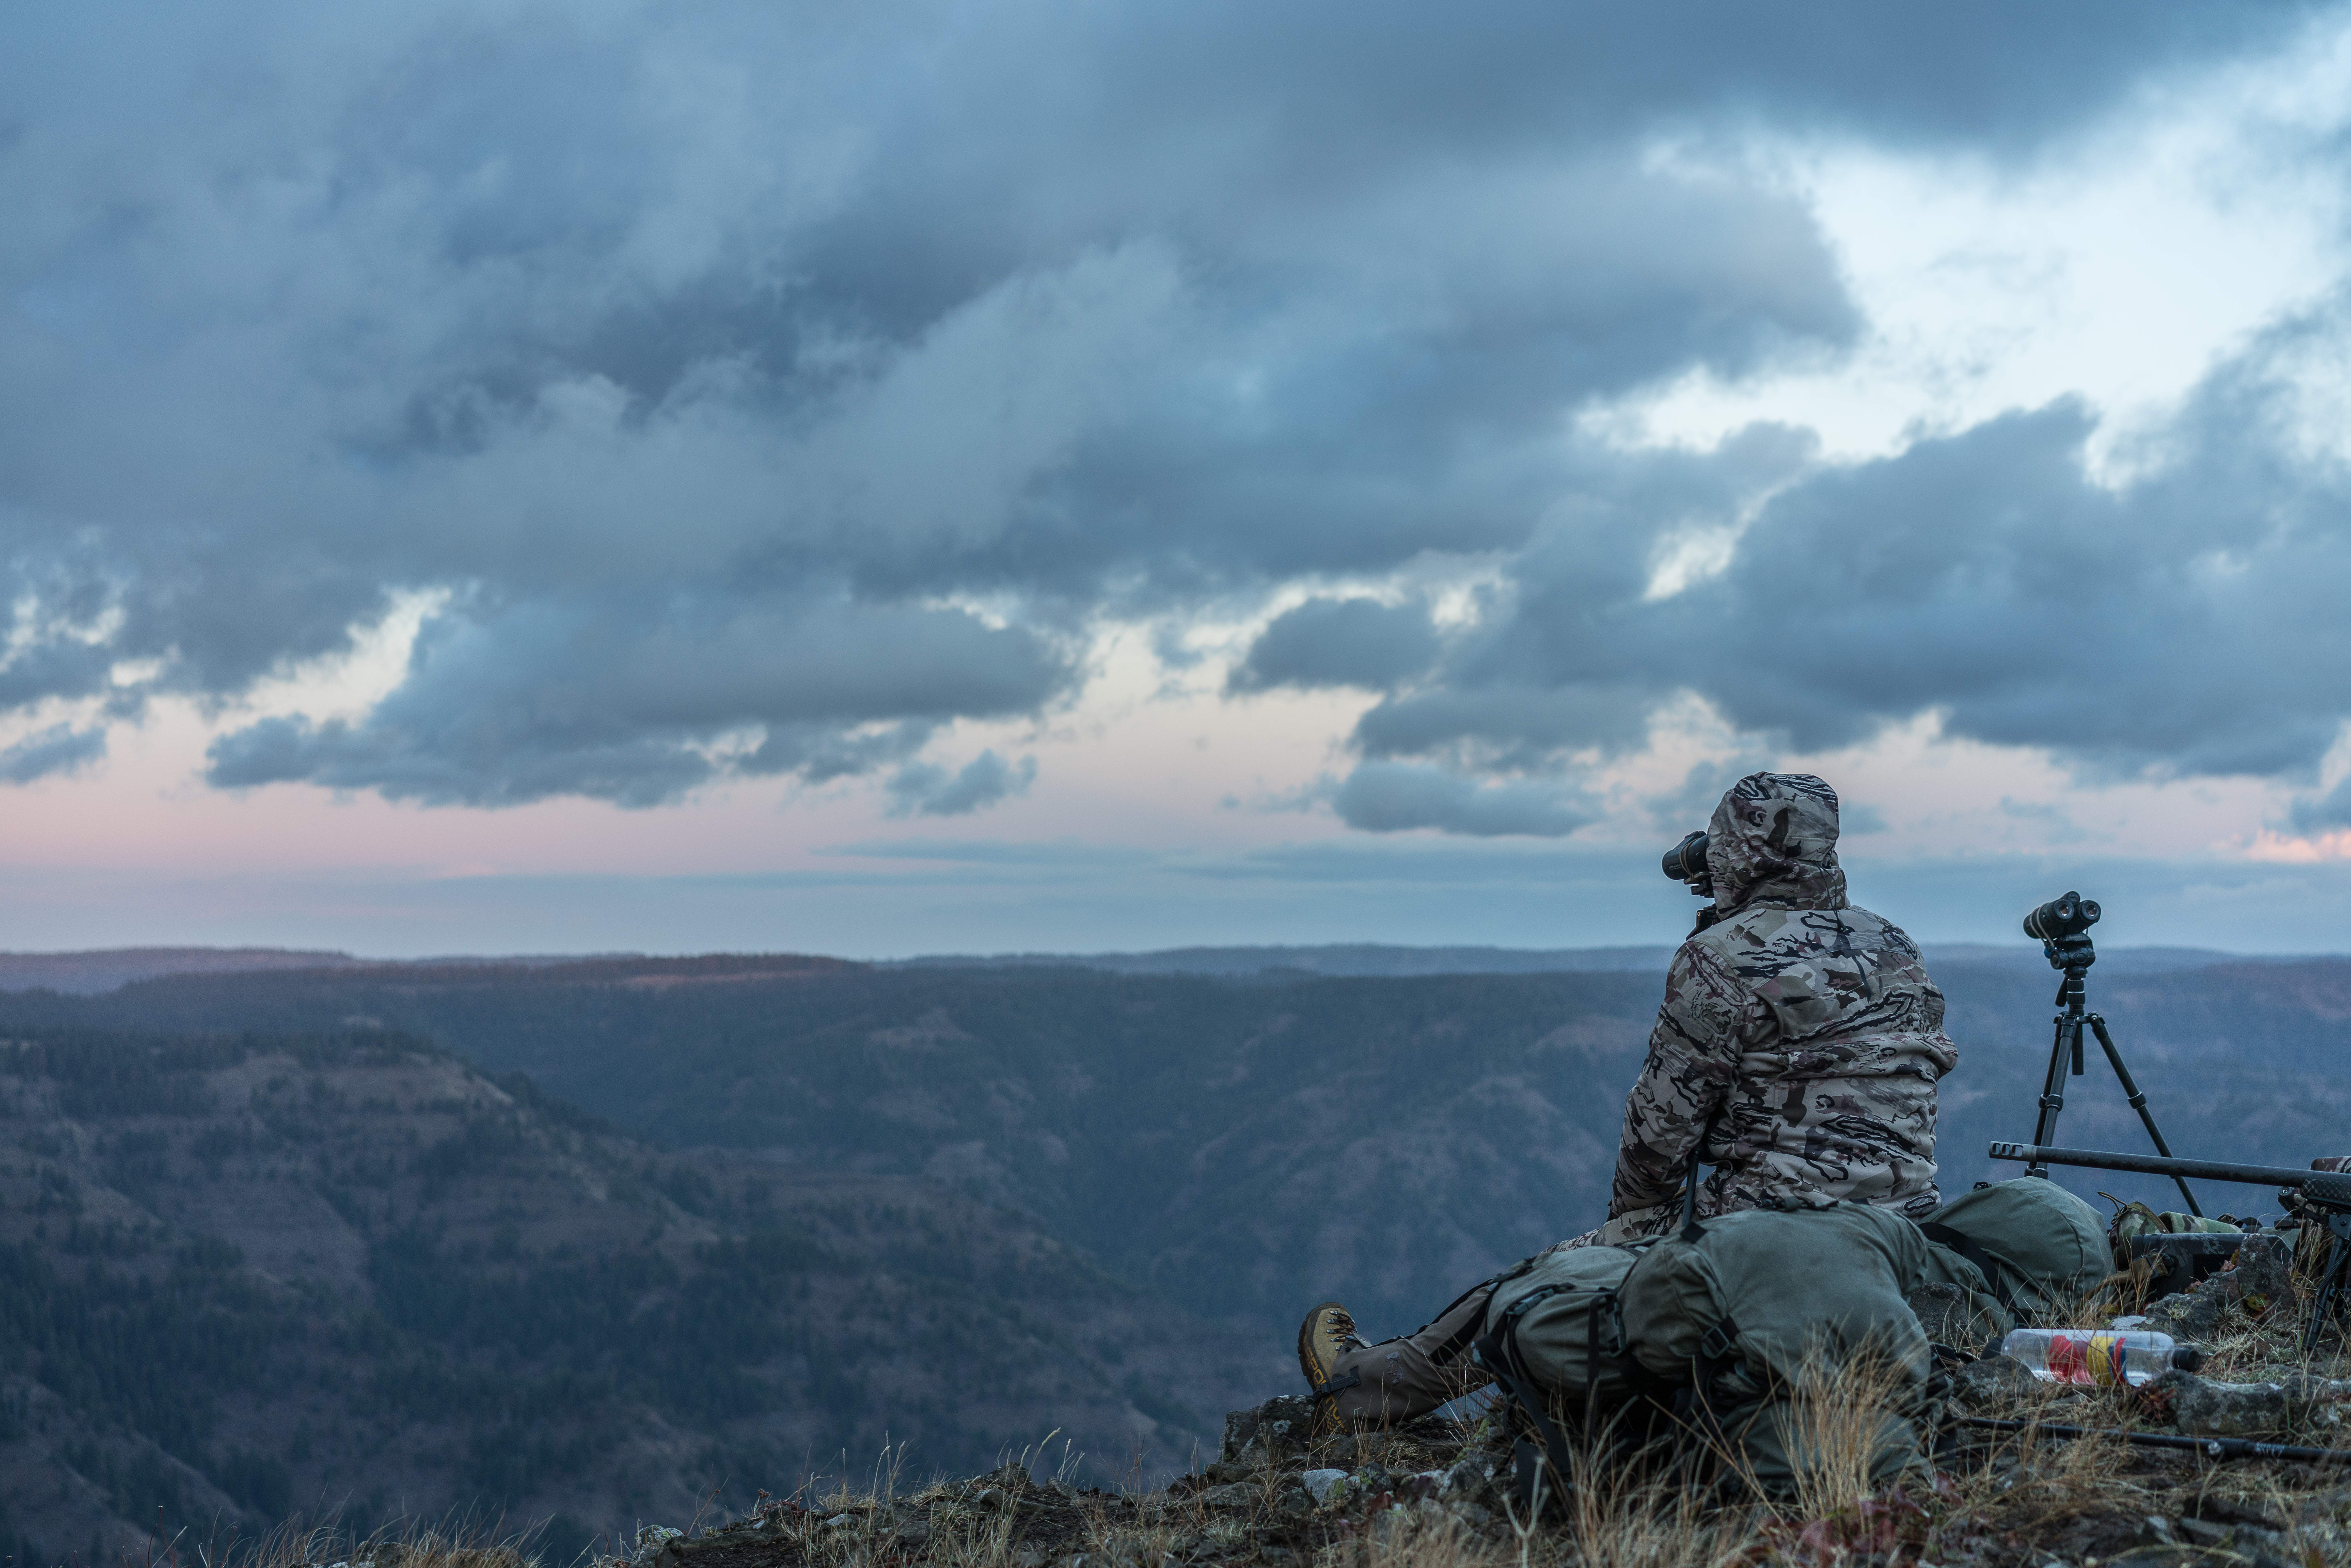
Photo: Guiderite Adventures Photography
The first step is understanding the geometry behind the firing solution. We’re going to spend the majority of our time on this topic because there’s a lot to be understood about it. To the unenlightened, “high angle” training locations are somewhat tough to come by, but are they? Again, what are we looking for in a training environment? Of course, we’d like to be able to simulate the decline angle, or incline angle, that best matches the environment we’ll be hunting in. For hunters, what would be your most extreme angle versus the range to the target? Once we understand the geometry of the angles and prove that the firing solution will provide us with the correct elevation to hit the target, this is now repeatable, it won’t change. One that’s done, we should be training to perfect our workflow of incorporating that angle solution into our current shot workflow. This is really why shooting angles are dubbed an “advanced skill”. There’s nothing really tricky about angles, other than figuring out how to insert that part of the firing solution into your current workflow.
When we shoot up or down, what happens to the bullet’s flight path? For years I’ve heard all kinds of explanations, but the most popular explanation is always “when you shoot uphill the bullet will land short, and downhill the bullet will land high.” This isn’t 100% true, and it’s not 100% false either. So, the way most people know how to correct for angles is to use the Rifleman’s Rule which is a simple mathematical formula of; Line Of Sight (LOS) Range X Cosine of the shooting angle = Corrected (or Shoot To) Range. It’s really very simple geometry, but man, that’s a lot of data to crunch under time, right?
Well, lots of folks have created products to help us out, most notably an angle cosine indicator that mounts to your rifle. Simply use your non-shooting eye to read the number on the dial while you’re in your shooting position. Multiply the range to the target by that number and boom, done. In theory, that’s it, but in reality, it’s a bit more complex than that. For years, this was the only way we as shooters knew how to solve for angles. It didn’t matter if we were shooting up, or down, the geometry was the same. But, I started noticing some things that were not quite lining up with regard to the prediction versus the actual performance I was seeing. Myself and my students we seemingly always hitting higher than anticipated with shots that were about 15 degrees or more. I don’t subscribe to blaming equipment on misses, so I chalked it up to wind being present that I just couldn’t see, but with some recent advancements with trajectory mapping, we now see what’s really going on, and it’s an interesting phenomenon.
Modern ballistic computers are incredibly powerful instruments in the palm of our hands. Smartphones abound, we have the ability to solve complex firing solutions on the fly with mountains (pun intended) of data and sleek user interfaces. Hornady’s new 4 DOF solver has brought the shooting community highly accurate bullet performance data through the use of Doppler radar mapping of bullets through their entire flight path. This allowed the ballisticians at Hornady to unlock some secrets with regard to bullet performance with inclines and declines.
They discovered that the old rifleman’s rule of Range x Cosine wasn’t accurate past 10 degrees of incline or decline. The Hornady solver takes into account several aerodynamic and environmental factors such as velocity vector alignment with gravity, the change in air density either up or down in elevation, and the relationship of the bullet path, line of sight, and the target, factors that geometry cannot account for. By seeing actual bullet performance with doppler radar mapping, we now have incredibly accurate solutions for angles that match bullet performance. For me as an instructor, learning this advancement solidified that I wasn’t, in fact, a crappy wind caller, but I was seeing the aerodynamic limitations of the Rifleman’s Rule.
Photo: Guiderite Adventures Photography
Now, how do we get this angle information and apply it to our firing solution? I suggest making a simple spreadsheet with your data broken into 10-degree increments to about 40 degrees. If anyone has shot at 40 degrees down or up, you know that looks can be deceiving and a 40 degree down angle is pretty much shooting off of a cliff. I’ll carry this pocket-sized spreadsheet with me in the field that goes along with my rifle’s data for quick reference in the event I need to account for an angle. For those of you that are saying “that’s a lot of work, making a spreadsheet when all I need to do is use my phone.” Solid plan, until it’s not. I rely on technology to a point, as in the modern world it’s foolish not to, but trying to navigate a smartphone screen with seconds to spare won’t help you get that tag notched.
Once we understand what’s going on with the bullet’s flight, that’s the easy part. Now the rubber meets the road and it’s up to us to put the last two pieces of the puzzle into place. Reading the environment, and building a solid shooting platform. Being a proficient mountain shooter is all about understanding, and correctly interpreting the conditions that influence our bullet’s trajectory, and that’s wind. Mountain wind is a crazy phenomenon because in true mountain conditions; it’s rarely the same and wind indicators are tough to come by. We can have prevailing winds which will get us a good starting point, but unless you’re shooting/hunting in the same area over and over again, each location you go to will be a new wind reading challenge. A proficient mountain shooter should be able to go to any mountainous location and be pretty close in correcting for wind simply based off of knowledge of what wind flow does and how terrain will influence that flow. It’s the baseline knowledge and experience here that separates the novices from the professionals. In mountain shooting, you can have all the knowledge in the world, but it means little unless you’ve got the experience in applying it. The key is getting to as many mountainous shooting locations you can and start watching the wind. Shoot in as many mountainous locations as you can, and seek professional instruction. What you’re doing is building a database of experience from all those different locations so that when you’re hunting and see a certain condition you’ll have a reasonable course of action with regard to your wind call. We’re playing for keeps with animals, make your mistakes on steel where misses are costless learning experiences.
The next part of the puzzle is being able to set yourself up in a solid shooting position to deliver your painstakingly calculated shot. That, for many, is a significant challenge, and without the proper equipment, you’re going to be limiting your ability to make shots that would otherwise be well inside your comfort zone on flat ground. This is where being trained in the fundamentals of marksmanship pays off in a big way. Knowing what to do with your body and your rifle so you can establish a natural point of aim is what this is all about. Know what your equipment can do to help you; a tripod, a rucksack, or a strategically placed wadded-up puffy jacket, is also a huge help. Again, this is where seeking professional instruction can pay off big time by having an experienced instructor show you the what, the why, and the how. Shooting in the mountains requires some specific gear, and now I just don’t go anywhere without it. A quality tripod that you’re intimately familiar with, a rucksack for additional support, and a rifle sling are all required equipment in my eyes.
Mountain shooting isn’t all about math as we’ve discovered. Once we understand those fundamental concepts, the data is what it is. Being a successful mountain shooter is largely about understanding and interpreting mountain winds and being able to build a solid shooting position from which we deliver our precisely calculated shot. Moreso though, mountain shooting is all about building a level of experience that will help you understand your capabilities and limitations as a shooter in some of the most difficult shooting scenarios that the planet has to offer. As hunters, we know that the moment chooses us, and luck isn’t anything more than an opportunity meeting the prepared. Be consistent, be repeatable, and know your limits.


