
One thing I love about being involved with the hunting community is the emphasis on acquiring your own food. Hunters understand that their success in the field can either mean packing the freezer to the gills, with enough to share with friends and family, or it can mean having to buy meat at the supermarket every week. Hunting is not only a fun, healthy, active pursuit, it also contributes to food security for you and your family.
Since we can’t live on just protein alone, it would behoove us to learn not only how to acquire our own meat, fish, and fowl, but also how to grow our own produce. Yes, you want to eat green things with your steak as well!
Seeing as that it is April, now is a great time to get on the gardening bandwagon and start prepping a slew of vegetables to be harvested in the fall. Not only will you be eating fresh, delicious greens all summer, you will also be investing in a winter’s supply of vegetables that you can freeze or enjoy until the following growing season. It doesn’t get more satisfying than having a meal comprised of a fish that you caught, a salad that you grew, and a dressing that you whipped up by hand.
If you are new to the art of gardening, I invite you to start a modest plot of crops that you can likely plant and then simply leave to grow over the summer. Outside of watering and some occasional sprinkling of fertilizer, you likely won’t have much work to do until it comes time to harvest, which in my opinion isn’t much work at all… in my world that’s called fun!
The easiest way I have found to start a garden bed is a simple, no till method also known as “lasagna gardening”. You’ll deal with little to no weeds, your vegetables will be booming and it costs almost nothing to build!
With lasagna gardening, rather than heading out to the backyard to dig up dirt or sod, you simply start piling up the ingredients you have to work with to achieve a fertile, rich medium for your plants to thrive in. The best part? Most of the ingredients are absolutely free, and can be foraged from your back forty, your neighbourhood, or quickly and easily via Craigslist.
First off, head on outside during mid day and take a look around. Where is the sunniest spot in your yard? Which space has mostly uninterrupted sunshine, that is ideally tucked away in a place that has some shelter from intense wind? If you have a fenced backyard, this could be in the middle, or it might be out front of your house depending on which way your house faces. It could be a deck that receives the most consistent stream of sunshine. This sunny location is going to be your best bet for building a booming garden bed or two.
If all of this sounds ridiculous, and you do not have the luxury of a yard, you can simply start a small planter box by a window, and grow your own herbs to rub on your venison steaks this fall. This puts you one step closer to learning the art and science of growing your own food.
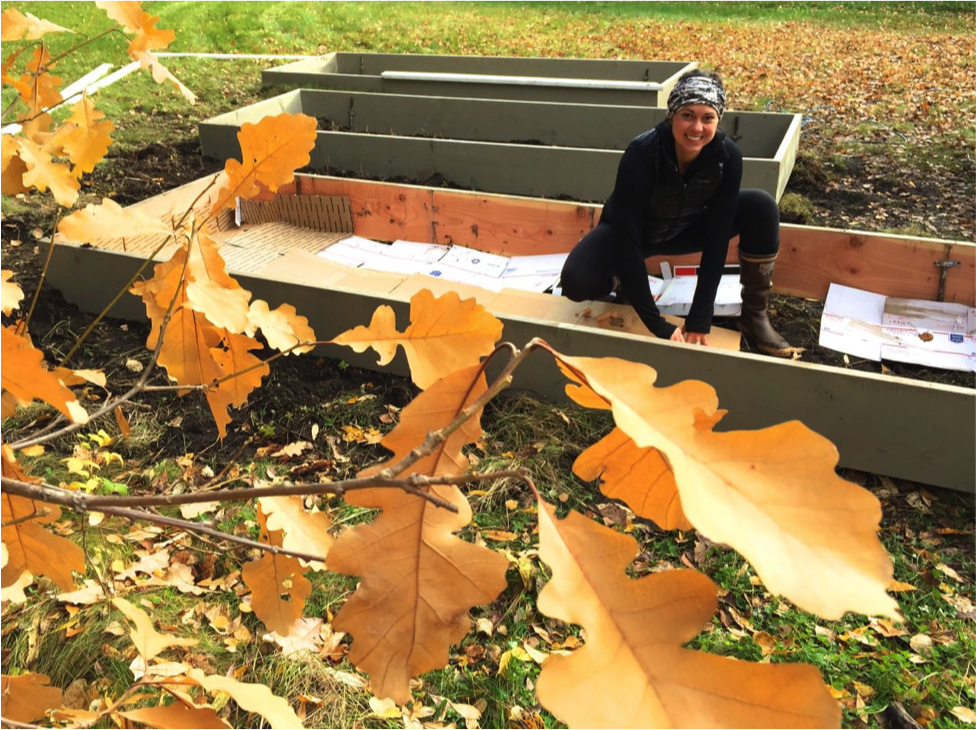
In this sunny location, you will likely want to build a raised bed, or some sort of container for your growing medium. We were able to use mostly recycled wood for building our raised garden beds. Some of the wood was even starting to rot after spending countless years behind the house, but with a layer of paint it was made new again, and works just fine for containing our plants. We ended up with three HUGE garden beds! I’m not sure how much food that is going to yield this fall, but I’m sure there will be a lot of brining and canning of carrots, beets and green beans!
Once you have built some sort of container for your growing medium, you’re going to start filling it with all kinds of organic ingredients, and this is where the fun foraging comes in!
If you have set your raised beds on top of weeds or grass, laying down a thick layer of recycled cardboard is a great place to start. This will smother the weeds and grass below, ensuring that your garden doesn’t get run over by these little guys. You can find an abundance of cardboard boxes at your local recycling centre.
Now that your plants are protected from weeds from the bottom and on all sides, you can start laying in your growing medium. With lasagna gardening, you create layers (like lasagna!) with a wide variety of easy to find ingredients. These include things like fallen leaves (your workout for today is to go rake the yard), hay, leftover vegetable scraps, grass clippings, shredded paper, sawdust, wood ash, coffee grounds, manure, etc.
Ideally, you will be creating two to four inch layers, alternating between greens (living) and browns (dried). If you have a layer of manure (we found a TRAILER LOAD on craigslist for free), you would lay down a few inches of that, and top it with shredded paper or sawdust. Add another layer of manure or kitchen scraps, and then switch back to browned leaves or straw.

This alternating between “green” and “brown” layers will create an ideal composition of nutrients for your plants. This will also encourage earthworms to get in their and do their work of decomposing all that material, and turning it into an absolute oasis for your plant roots.
If you have a large garden bed that you have built, it is going to take A LOT of material to fill these beds. We collected food scraps for weeks, pulled sawdust from job sites, snatched bags of leaves from neighbours in the fall, and brought home about a half ton of goat manure. As you can see, we have yet to invest any money into this garden that is likely going to feed us for years to come.
Now that you have created these awesome layers that need to break down over the next few months (and they will as your plant roots are reaching through them) you want to top the whole mess with a high quality top soil or potting soil. You can find this for cheap by the yard or in bags at the hardware store. Put a thick layer of this on top of your lasagna layers, so your new young seedlings start off in a healthy soil, and will continue to grow deeper as your layers are decomposing.
If you’re a first time gardener, rather than putting the pressure on yourself to start seeds indoors six to eight weeks before moving them outside, you can simply wait until the final frost date in your area (which you can find at www.farmersalmanac.com) and then drop some seeds in your fertile garden bed!
If you are looking to have food to eat with your kill through the winter, I would encourage you to plant some easy root crops, such as beets, onions, and potatoes. If you want instant gardening gratification, try planting radishes! Last year was our first time really giving gardening a go, and we must have had hundreds of radishes! They were a real morale booster 🙂
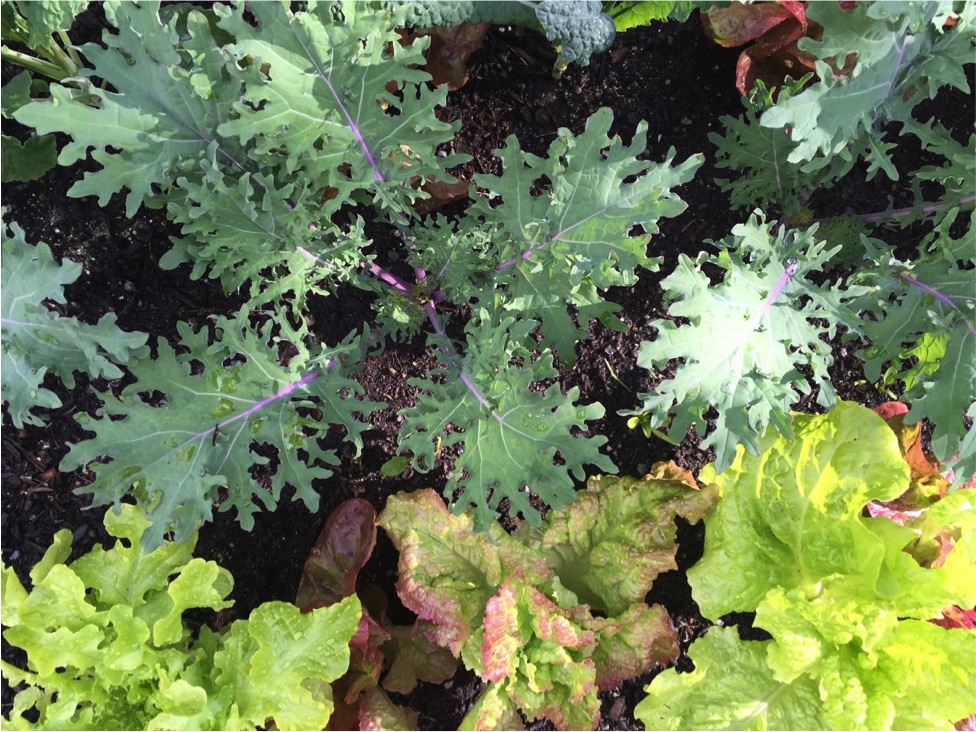
If you find some starters at your local nursery, put some lettuces, kale, herbs, spinach and cabbage starts into your top soil, and let those plants feed you all summer long. The most kale I’ve ever eaten in my life was when I had a modest three foot by six foot raised bed of it in the backyard. It never seemed to quit growing!
Once you have your seedlings or starters sitting nicely in the top few inches of soil, be sure to water those little characters. You will be greatly rewarded if you pay your crops a visit everyday, to see if the ground is dry, or if things are slow to grow and you need to add a balanced fertilizer. The gratification you get from growing your own fruits and vegetables may not be the same as bagging your own game meat for the year, but hopefully it only adds to your sense of self-sufficiency and accomplishment this fall.
Gardening need not be an overwhelming endeavour. Simply start small, and you will soon find that growing your own food is an addictive hobby that yields the most delicious food you’ve ever eaten.
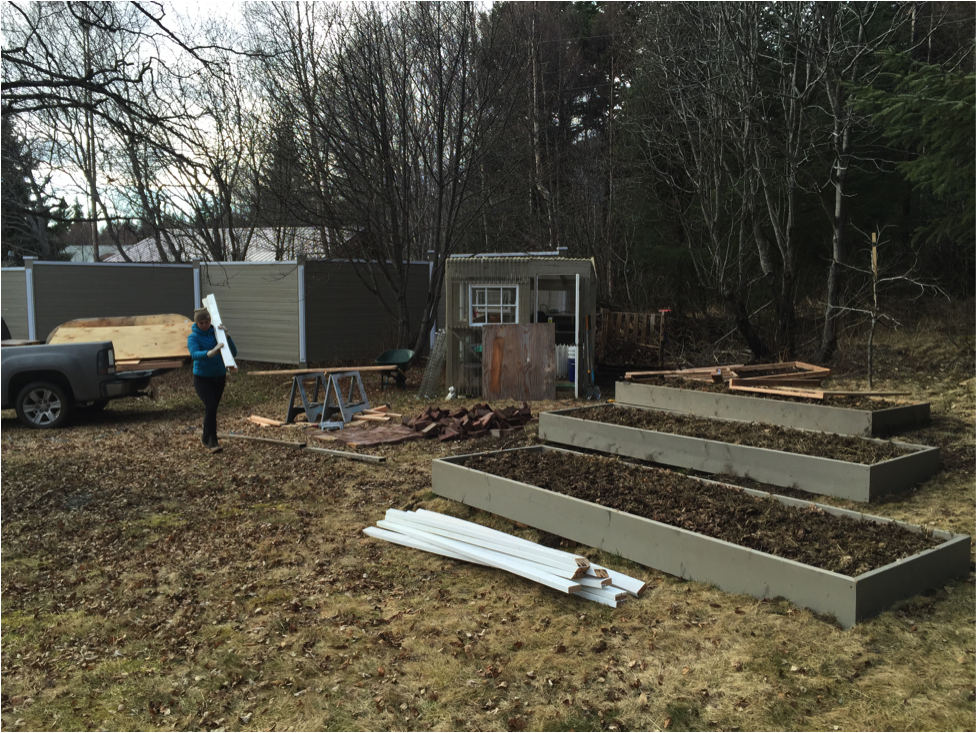
Adding trim to the garden beds, to make them more of a feature in our yard, rather than an eye sore.
With a little effort, you can be eating fresh homegrown vegetables along side your game meat this fall.
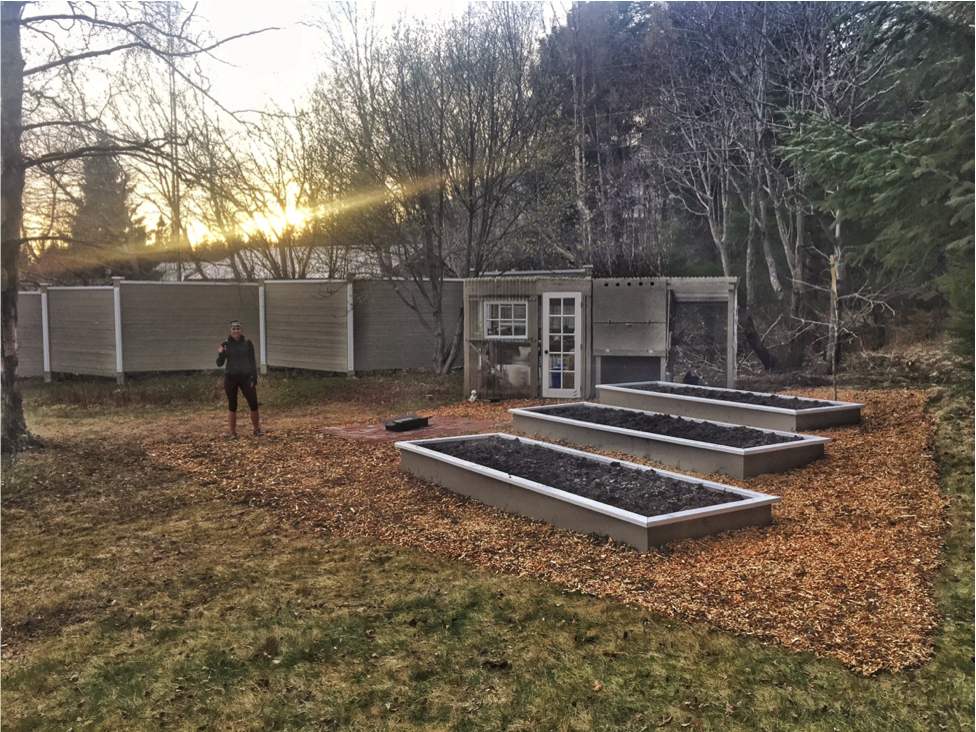
Our nearly free garden, which provides close to 150 square feet of gardening space. We chipped a bunch of scrap wood from the yard to mulch around the beds, creating a completely weed free area. Fencing is going up next to keep the moose out!
About the Author:
Heather Kelly is the creator of Heather’s Choice Meals for Adventuring. Inspired by her personal backcountry trips, Heather strives to create healthy, delicious meals and snacks for folks headed out on epic adventures. You can order her meals and snacks online at heatherschoice.com and use the coupon code JOMH to save 10% off your next order.
Opt in for her newsletter to hear when her new ebook Who’s Ready For An Adventure?! is released later this spring!